Shoot in context-and-close-up pairs
One wide shot establishes the location; one close shot shows the condition. On its own, a tight crop of a crack could be anywhere in the building.
PRACTICAL GUIDE
A photograph is the part of your report a client looks at first. Good photographic evidence answers three questions without further explanation: what is the defect, where is it, and how significant is it.
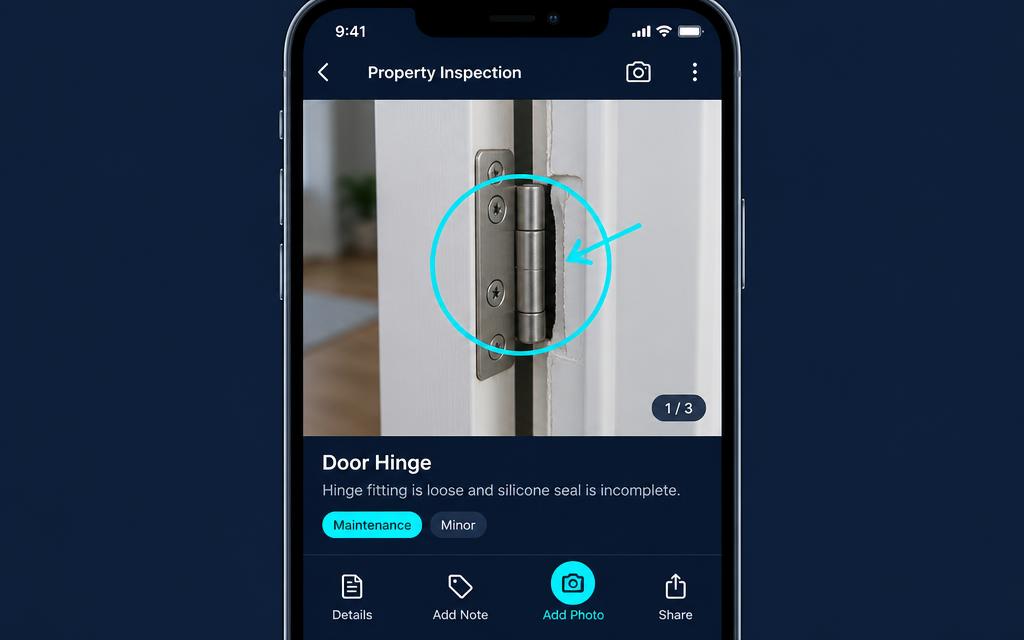
One wide shot establishes the location; one close shot shows the condition. On its own, a tight crop of a crack could be anywhere in the building.
Marking the defect while you are standing in front of it is more accurate than trying to remember its position later. Arrows and outlines also stop clients hunting through a photograph for the finding you meant.
Twenty considered photographs are more useful to a client than two hundred unsorted ones. Capture what supports a specific observation, and delete duplicates before you finalise.