← Home

PRACTICAL GUIDE

How to Write Property Inspection Observations: Practical Examples

A useful inspection observation helps the reader locate the issue, understand what was observed and identify the next step. This guide provides a simple structure and practical examples for turning short site notes into clear report descriptions.

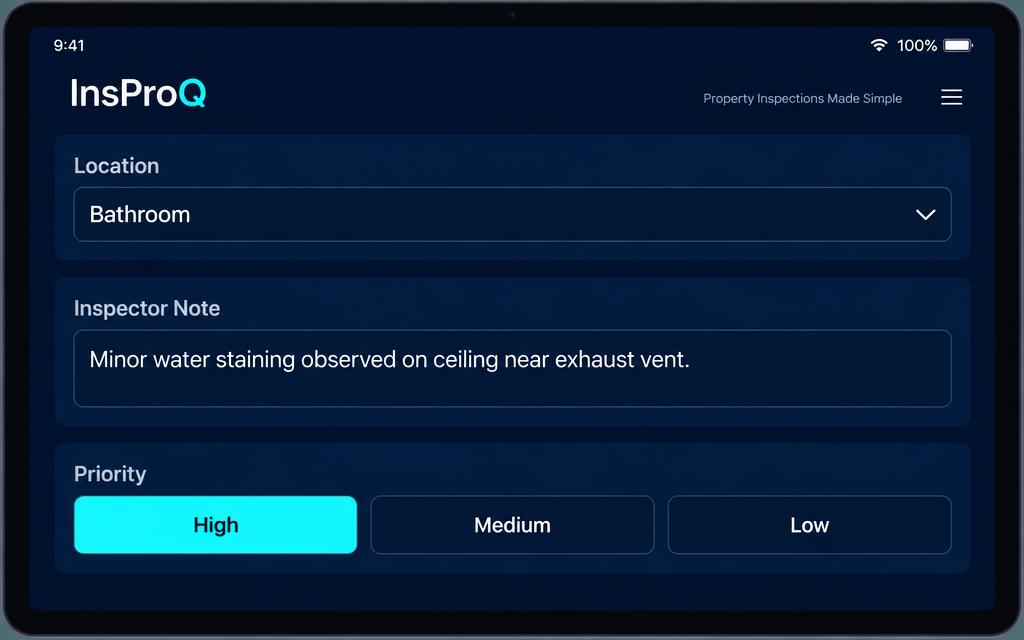
InsProQ interface for recording and prioritising a property inspection observation.

Illustrative interface. Any priority shown is an example, not a recommendation for the condition pictured. The inspector must assess each finding.

A simple structure for each observation

Location → observed condition → significance, when supported → recommended action.

Record only details established during the inspection. If the cause, extent or significance is uncertain, state that limitation and recommend an appropriate further check.

Illustrative examples: from site note to report observation

These examples illustrate wording, not findings to copy. Expanded details must have been observed or verified; do not add them merely to make a note sound more technical. Priorities require the inspector’s assessment, not automatic assignment.

Example 1 — Loose tap

Short site note
The kitchen tap is loose.
Report observation
Kitchen — sink mixer tap: movement was observed at the base during operation. Arrange for a plumbing contractor to inspect and secure the tap, then check its operation.

Example 2 — Damaged paint finish

Short site note
Paint damaged near the bedroom door.
Report observation
Bedroom — wall beside the entrance door: localised damage to the painted finish was observed. Prepare the affected area and make good to match the surrounding finish.

Example 3 — Ceiling staining

Short site note
Stain on the bathroom ceiling.
Report observation
Bathroom — ceiling beside the extract vent: discolouration was observed. The source and whether moisture was active were not established during this visual inspection. Arrange further investigation before making good the finish.

Describe what you saw, not what you assume

Record visible evidence first and keep interpretation clearly separate. Ceiling staining describes a visible condition; it does not establish a leak, its source or whether moisture is active. State what was not established and recommend further investigation.

Make locations findable months later

  • Anchor to something permanent: a window, a doorway, a service riser, a unit number.
  • Add a direction or elevation when a room has repeating features.
  • Keep the same naming convention across the whole report and across jobs.

Keep priority language consistent

Use a small, fixed set of priority levels and apply them the same way every time. Clients lose confidence quickly when two similar findings carry different priorities without explanation.

Write short, then refine

On site, capture a short factual note while you are standing in front of the defect. Refining wording later — on your own or with optional AI assistance — is far quicker than trying to write final report prose in the field. The technical judgement, and the final wording, stay yours.

From a voice note to a reviewed observation

Dictate a note using your phone’s microphone, then review the transcribed text before continuing.

  1. Dictate a short factual note while inspecting the issue.
  2. Check the transcription, particularly the room, location and technical terms.
  3. If using InsProQ’s optional AI assistance, review the suggested wording.
  4. Confirm the final text against your observations and photographs before finalising the report.

AI can help with wording. It should not add unverified causes, measurements, diagnoses or compliance claims. The inspector reviews and controls the final description.

A quick self-check before finalising

  • Could another inspector find this defect using only your description?
  • Is it clear why the finding matters?
  • Is there a single, unambiguous recommended action?
  • Does the photograph support the wording?

Related guides